
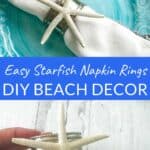
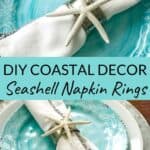
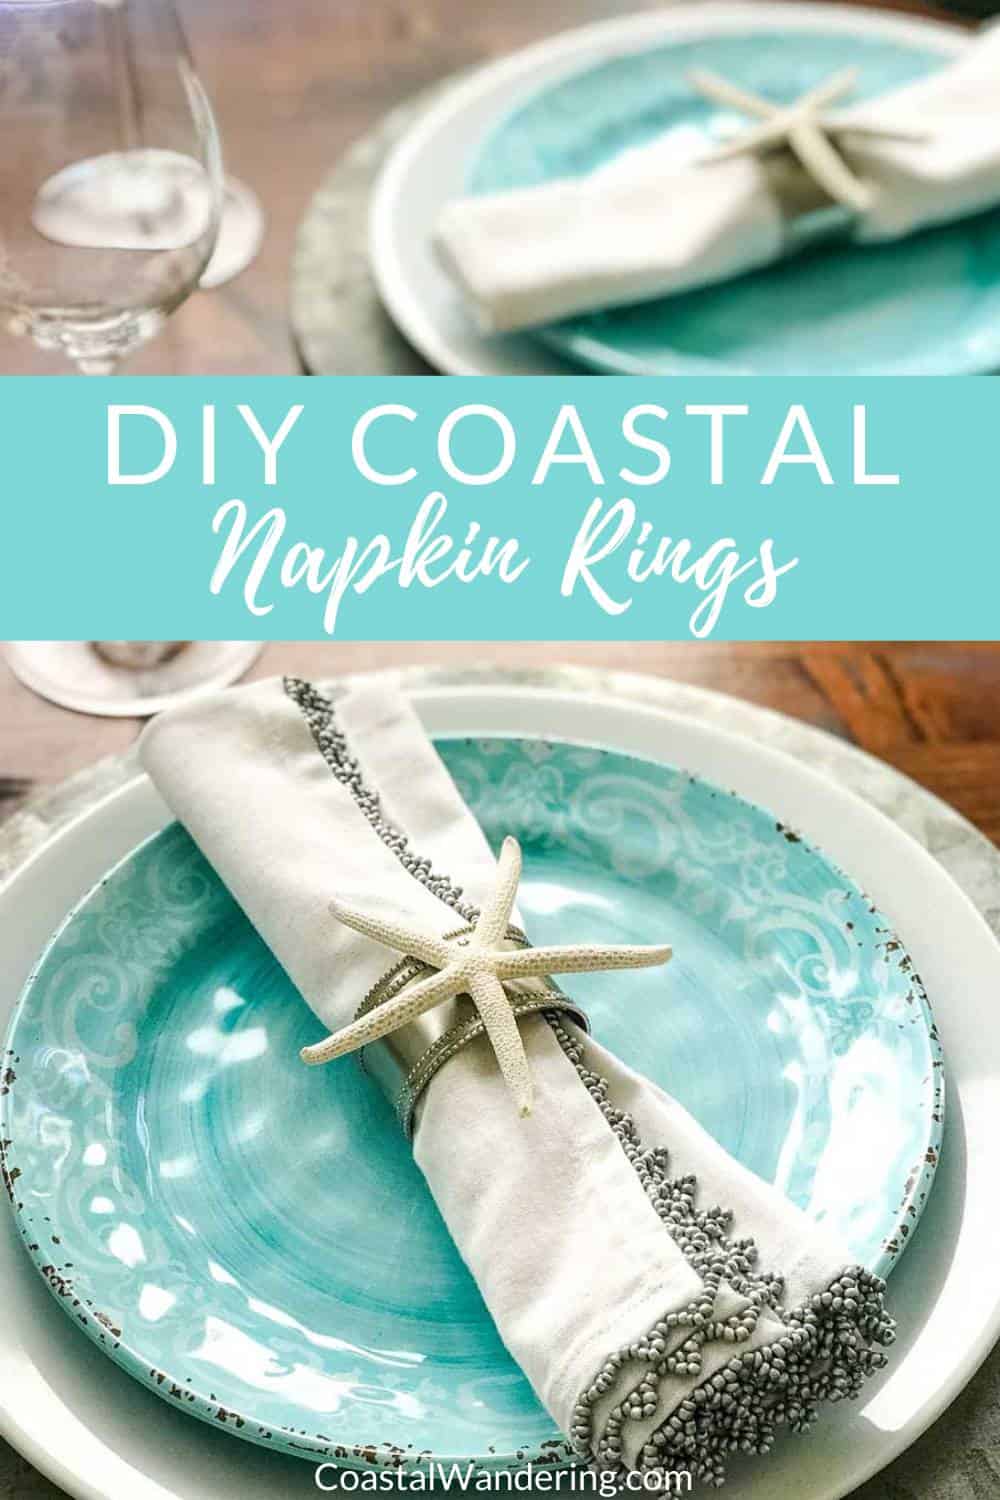
These seashell napkin rings take about five minutes to make, and you can use shells you already have from a beach trip. They're an easy way to bring a little of the beach to your table.
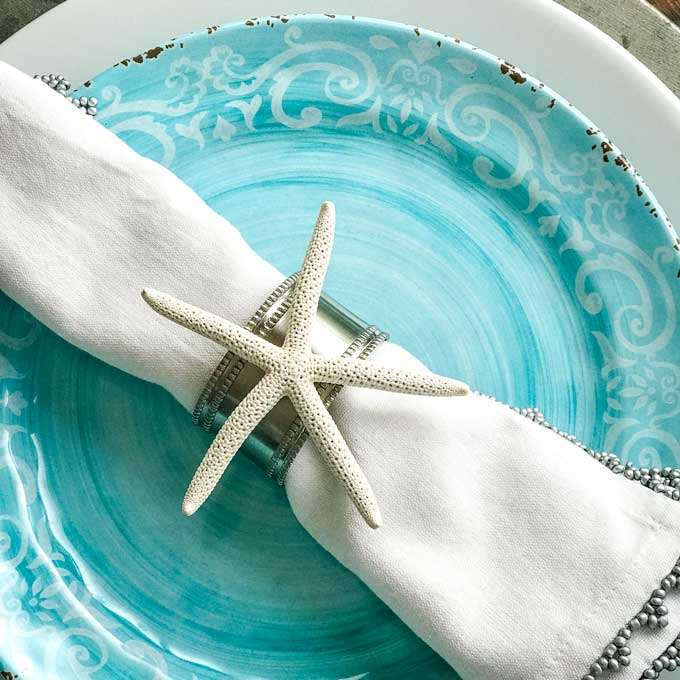
These seashell napkin rings are one of the easiest beach crafts to make. I made mine with starfish I picked up at a shell shop on Hilton Head and some simple napkin rings I already had. I pull them out whenever I have people over, and they're a nice addition to a coastal table setting.
You can also use shells you picked up at the beach for these. And if you didn't bring home quite enough, starfish are easy to find online or at your local craft store or dollar store.
Before You Start
A couple of things to keep in mind when you're picking out your shells. They should be about the same size if you're making a set of matching napkin rings. If you'd rather have more variety, mix and match your favorites. And whatever you choose, make sure each shell has enough flat surface area on the bottom to glue down cleanly to the ring.
DIY Seashell Napkin Rings Tutorial
Materials needed
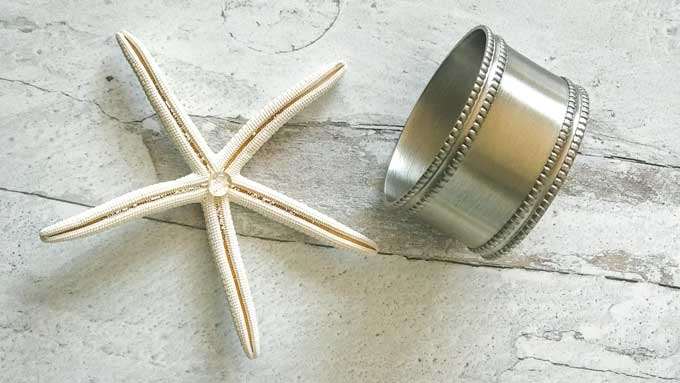
3" to 4" white finger starfish
beaded pewter napkin rings
hot glue gun and glue sticks
How to make starfish napkin rings
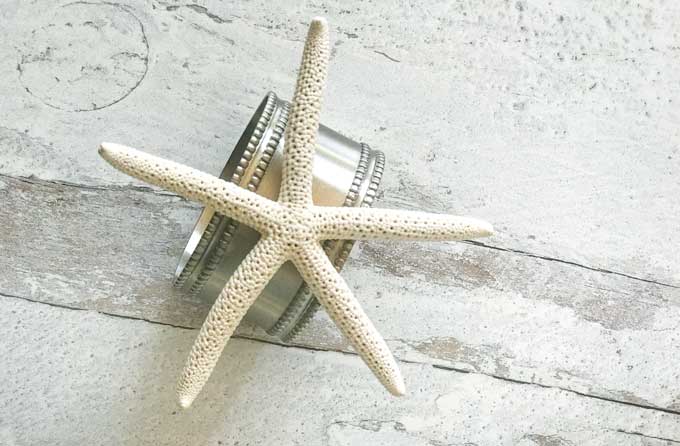
Start by dry fitting the starfish on the napkin rings and arranging them the way you want them to sit on the finished napkin rings. Since each starfish is a slightly different shape, you'll need to turn them in different directions until you find the best placement for each.
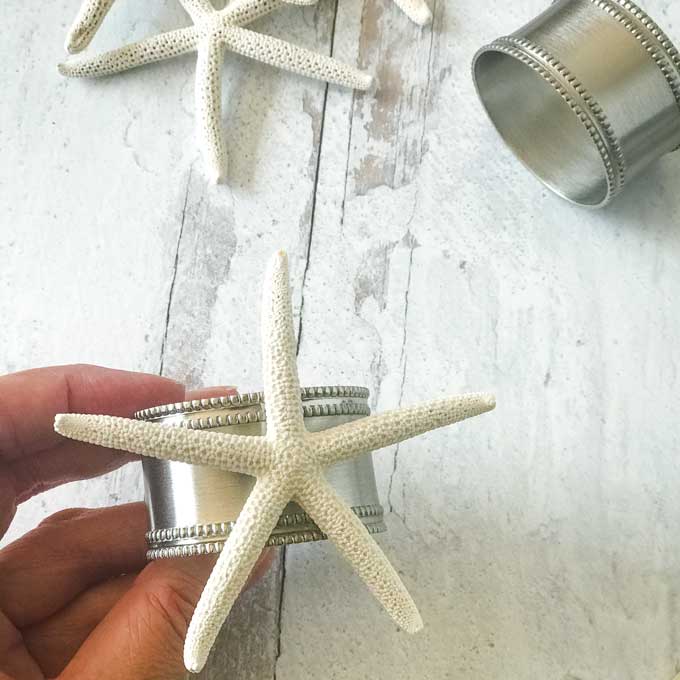
Working with one napkin ring at a time, turn the starfish over and place one drop or small dot of hot glue on the center of the starfish being careful not to let the glue drip over the sides.
Hold the napkin ring on your work surface and be sure that it is sitting level. Place the starfish, glue side down, on the center of the napkin ring the way you want it to sit on the ring. Hold the starfish in place for a few minutes for the glue to set up. Repeat with the remaining napkin rings.
That's it! This project is so easy it takes just a few minutes. You can make these napkin rings for your dinner table tonight.
More Seashells to Try
White finger starfish are what I used here, but this project works with a lot of different shells. A few good options:
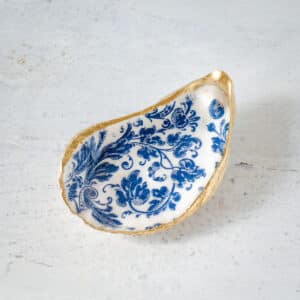
Oyster shells. If you have some from a decoupage project, the smaller ones work well here. They have a nice natural shape and a good flat surface for gluing. You can leave them natural or add a little color with the decoupage technique first.
Sand dollars. Clean and natural, and they lay flat on the ring easily, which makes the gluing straightforward.
Orange sugar starfish. Warm and a little unexpected. Works well on a fall or Thanksgiving table with a coastal theme.
Which Napkin Ring Base Works Best
The napkin ring you start with changes the whole feel of the finished project. Here are some options to try:
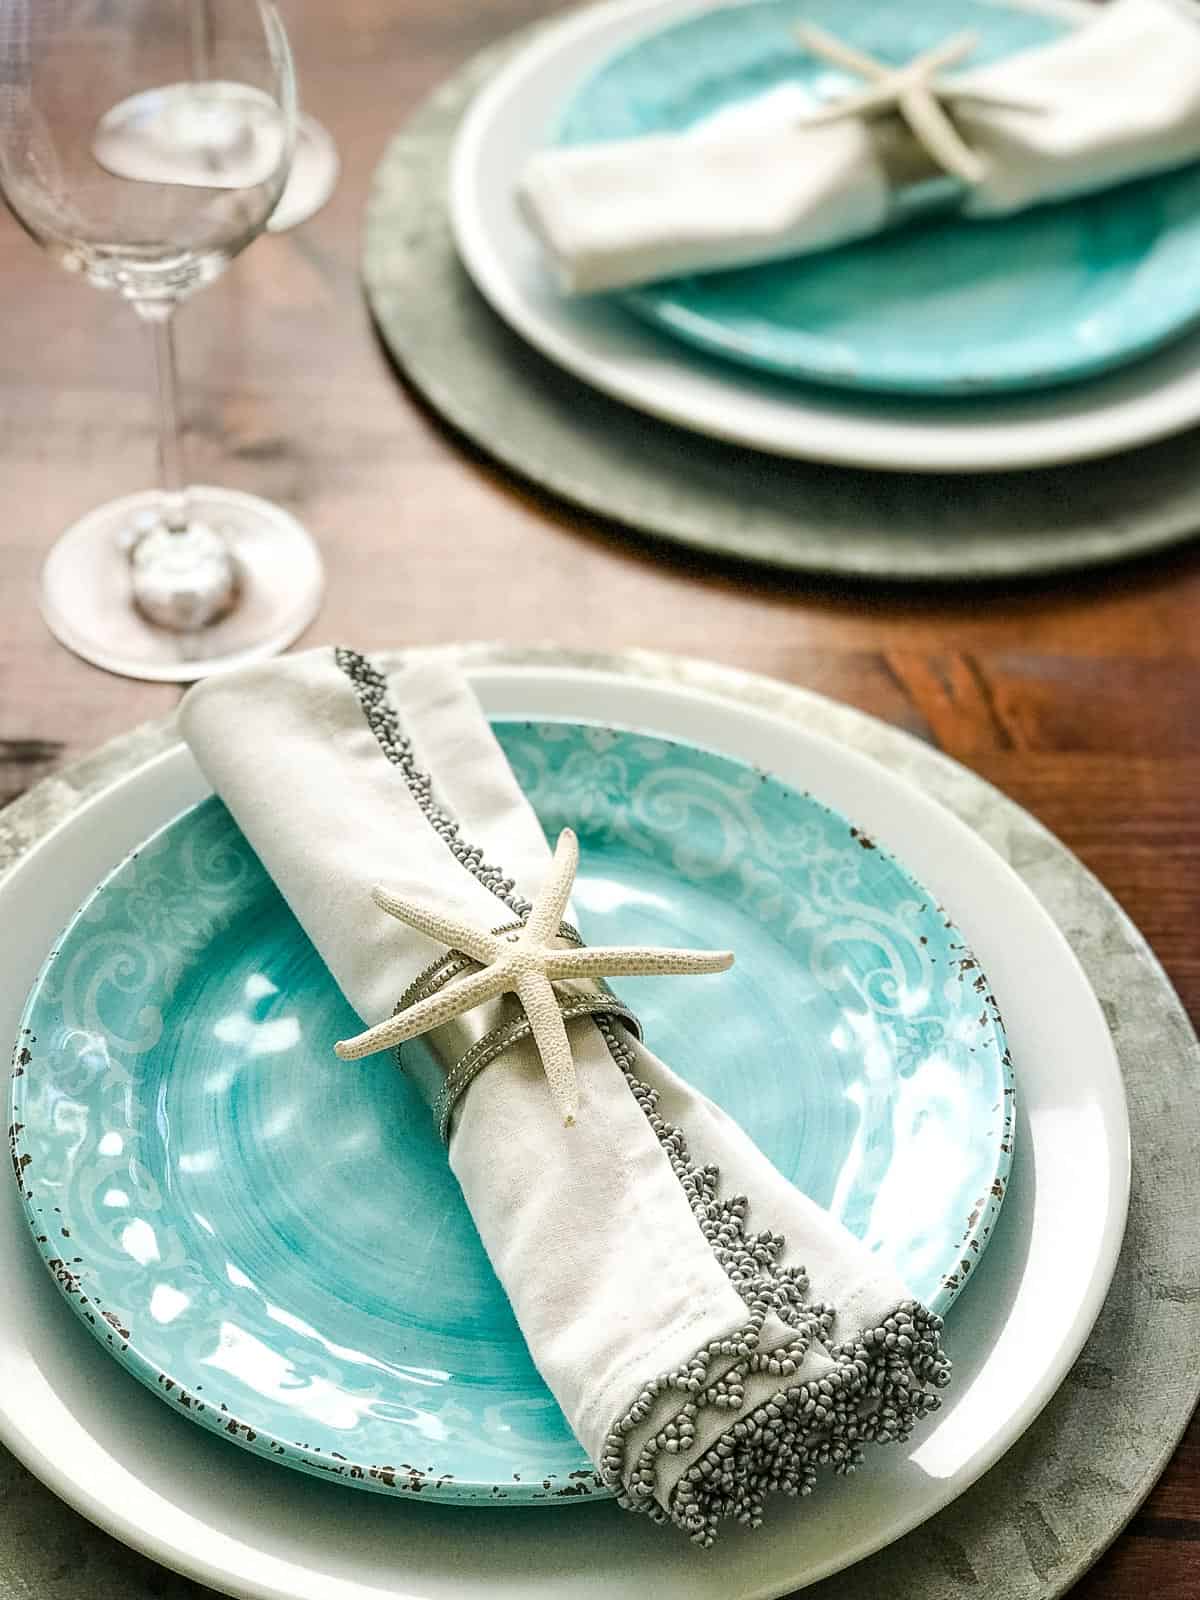
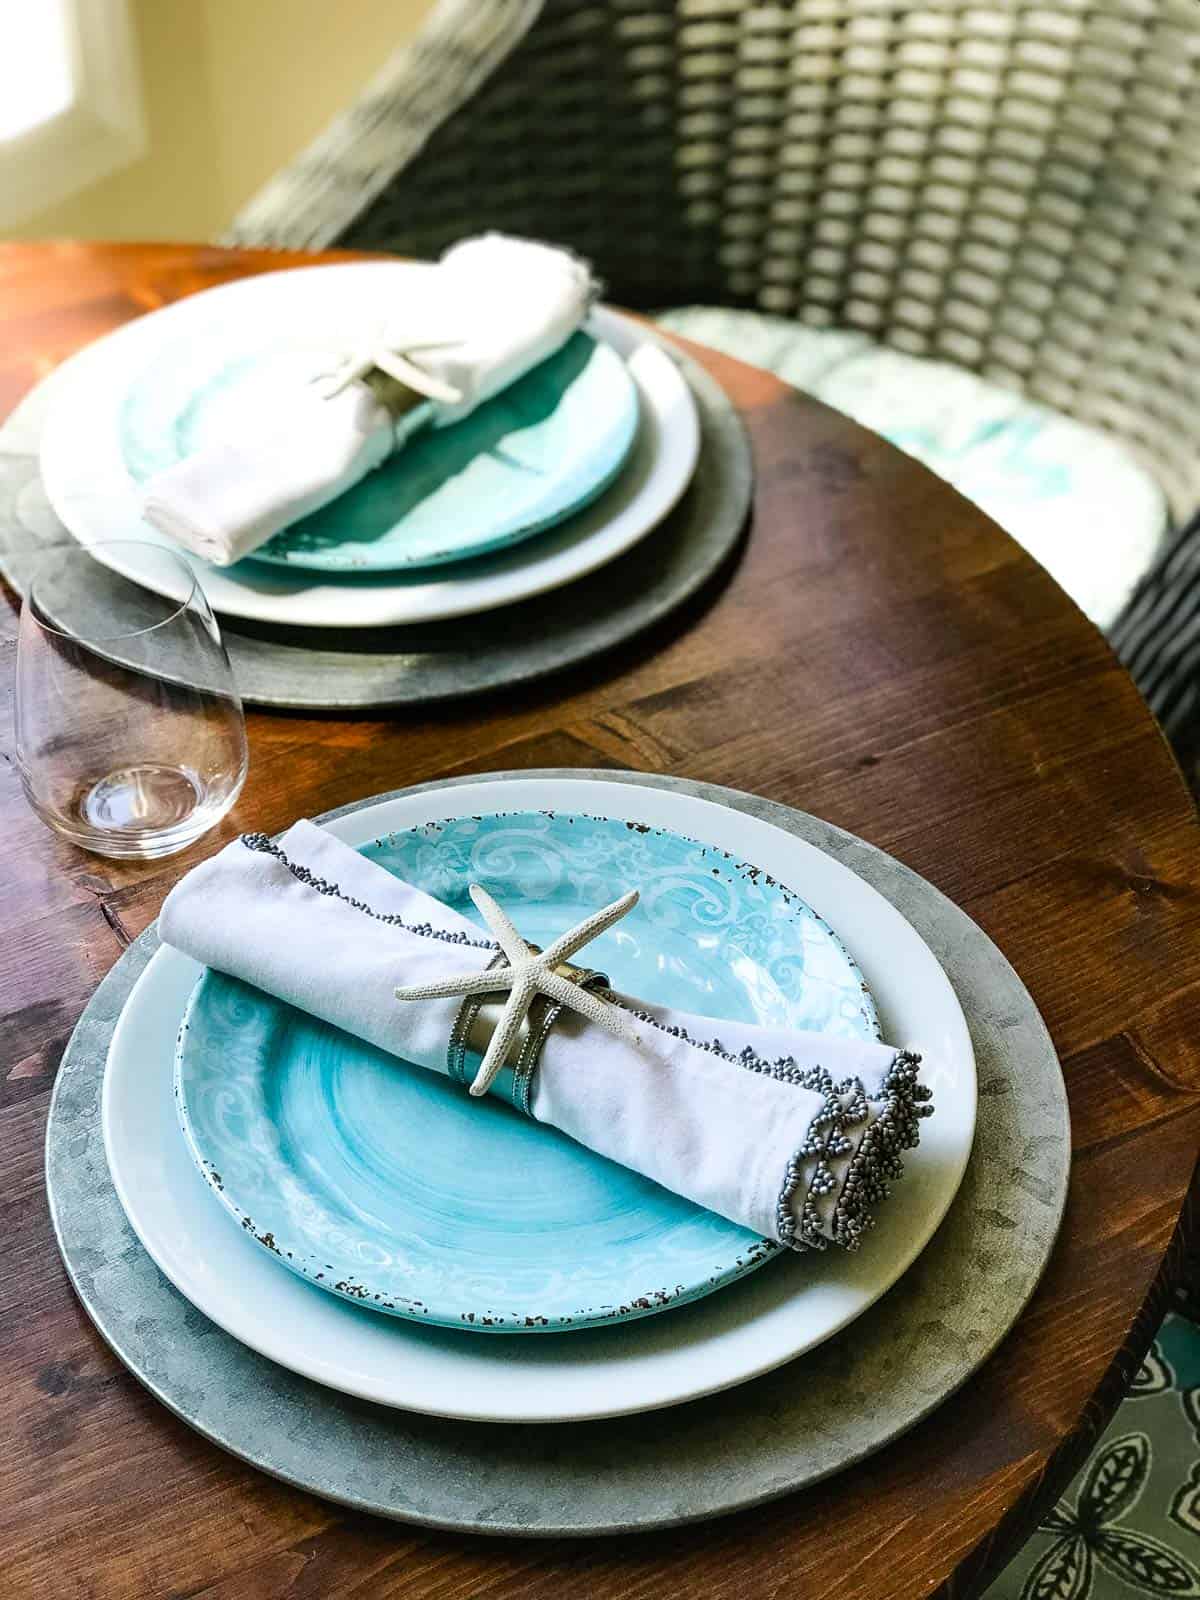
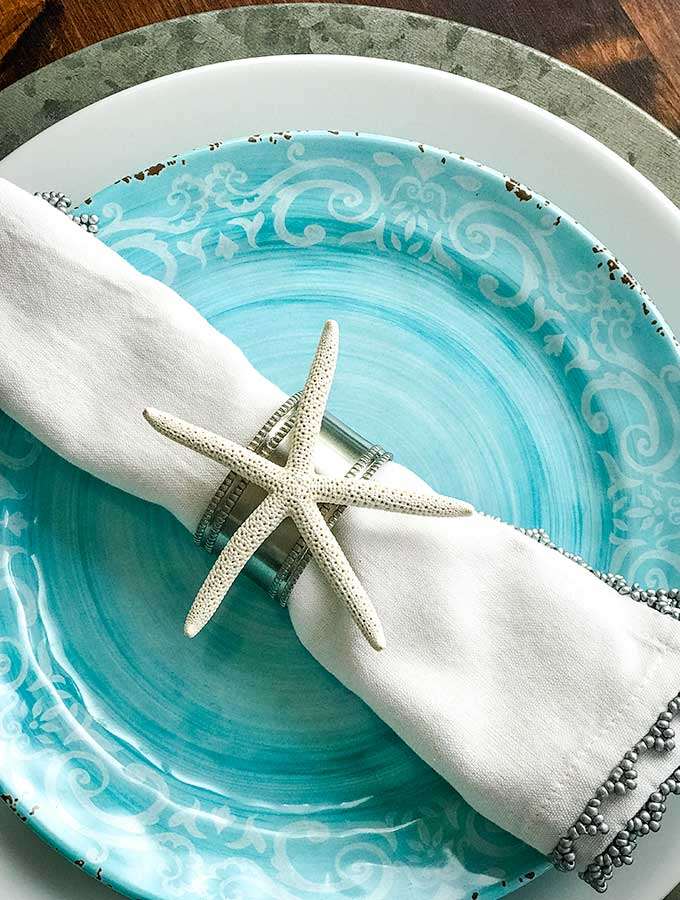
Beaded pewter rings. A little more polished than rope or jute. I used these with galvanized chargers and they looked great together.
Jute napkin rings. Casual and relaxed, a natural fit for an outdoor table or a backyard dinner.
Nautical white napkin rings. Clean and crisp, good for a light summer table.
What to Pair Them With
I use mine with galvanized chargers, a white dinner plate, and a smaller blue patterned plate on top. For a more casual look, swap the charger for a natural woven placemat underneath instead. For a centerpiece, a low bowl of mixed shells or shells in a glass hurricane keeps the same feeling going.
For more ways to pull the whole space together, here are some coastal dining room ideas. And if you're doing a seafood dinner, the cioppino and crab dip are both great options.
For a Holiday Table
Swap in a gold or silver napkin ring. The same project, a little more festive, and it works well for a seafood Christmas dinner or any coastal holiday table.
Love seashell projects?
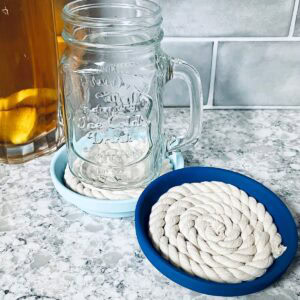
If you like bringing natural coastal decor into your home with shells, these are worth a look:
DIY Starfish Napkin Rings
Equipment
Materials
- 4 white finger starfish
- 4 beaded pewter napkin rings
- glue sticks for glue gun
Instructions
- Dry fit the starfish on top of the napkin rings by arranging them until you find the way you want them to sit on the finished napkin rings. Be sure each starfish has a good point of contact with the napkin ring for you to glue them.
- Working one at a time, remove the starfish from the napkin ring and place it face down on your work surface. Using a hot glue gun, carefully place one drop of hot glue on the center of the starfish. The glue drop should be large enough to fill any gap between the starfish and the napkin ring but not drip over the sides.
- Hold the napkin ring level on your work surface and replace the starfish, glue side down, on the napkin ring. Hold the starfish in place for a few seconds for the glue to set up.
- Repeat with the remaining napkin rings.
PIN IT FOR LATER


Leave a Reply