Here's an easy DIY oyster shell ornament to make for the holidays. Decorate in beach style with this quick craft project that's perfect for your coastal Christmas decor.
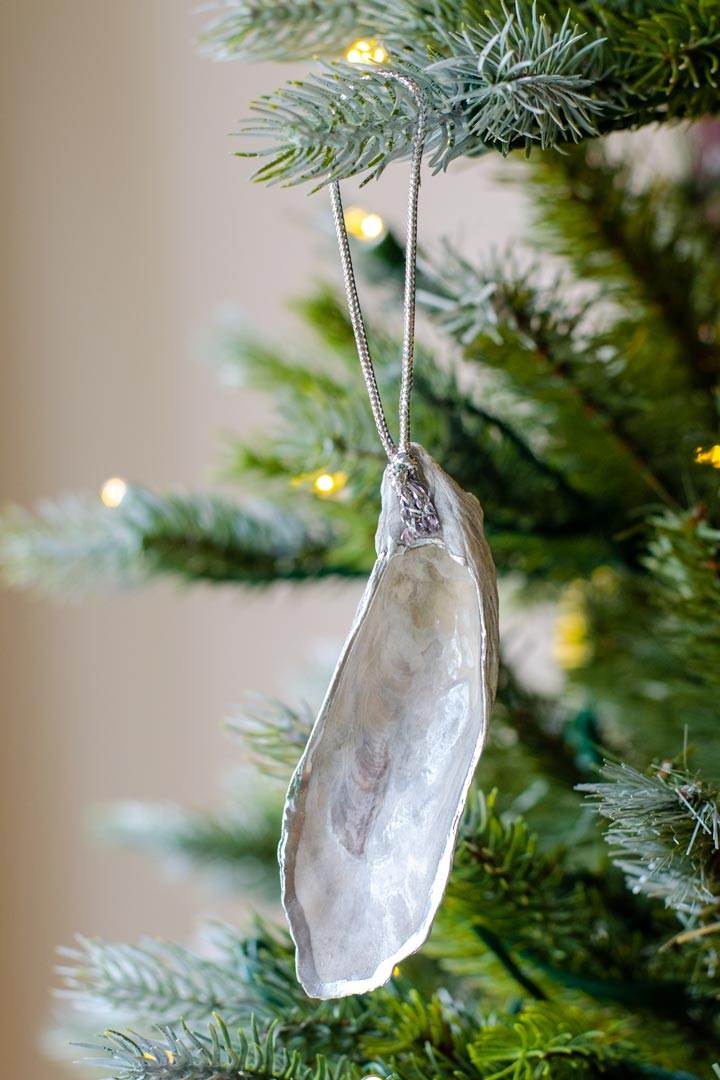
Easy beach Christmas ornament
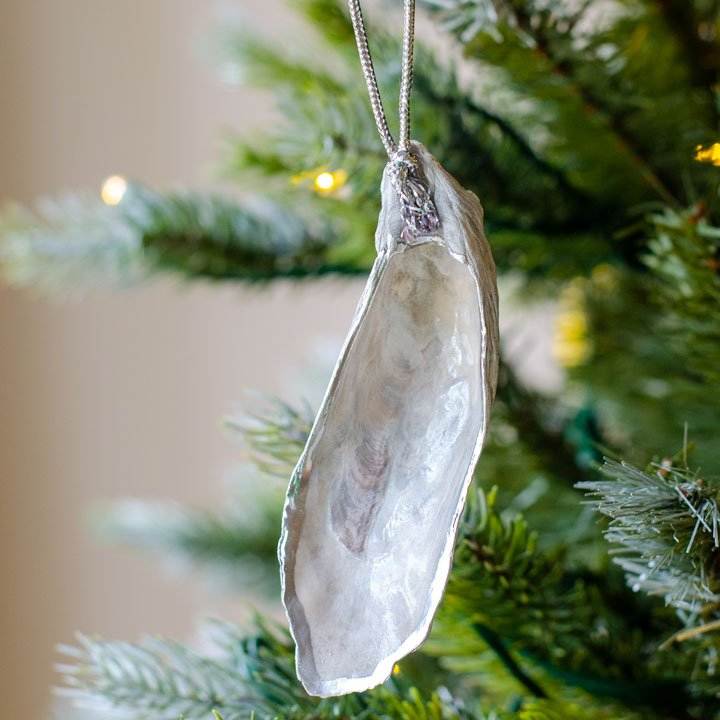
This simple craft project is an easy beach Christmas decoration. These oyster shell ornaments let the natural beauty and color of the shells show through with just a hint of silver in the painted edge and metallic cord to decorate them.
This DIY project is so quick and easy you can make enough beach ornaments for your tree in an afternoon.
And if you're a shell collector, you probably have everything you need at home. All of these ornaments were made with oyster shells we picked up walking on the beach. The key is to look for shells that are unbroken and worn smooth from tumbling in the waves.
Of course, if you don't have them at home you can always buy the supplies online or at your local craft store.
Here's how to make oyster shell ornaments.
Oyster Ornament Tutorial
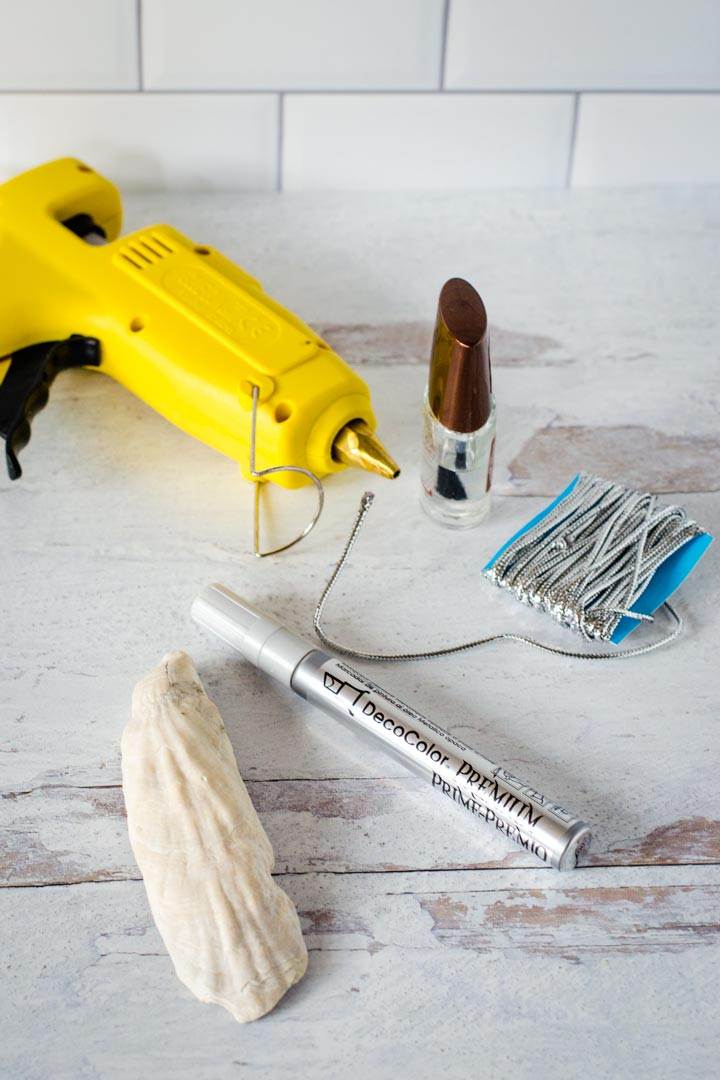
MATERIALS NEEDED
- 4" - 5" oyster shells
- metallic cord
- metallic paint marker
- clear polish
- hot glue gun and hot glue sticks
How to make shell ornaments
Be sure to start with clean dry shells. If you buy craft shells, they should come already cleaned and ready to use. If you are using found shells, be sure to clean them well. If you don't want to use bleach, you can clean them with vinegar (but don't let them soak) and wash them with dish soap. Let them dry thoroughly in the sun before using.
Start by attaching the hanging loop to the shell. Just make a simple hook by tying a knot in a length of metallic cord. Then glue the knot to the top of the shell on the inside.
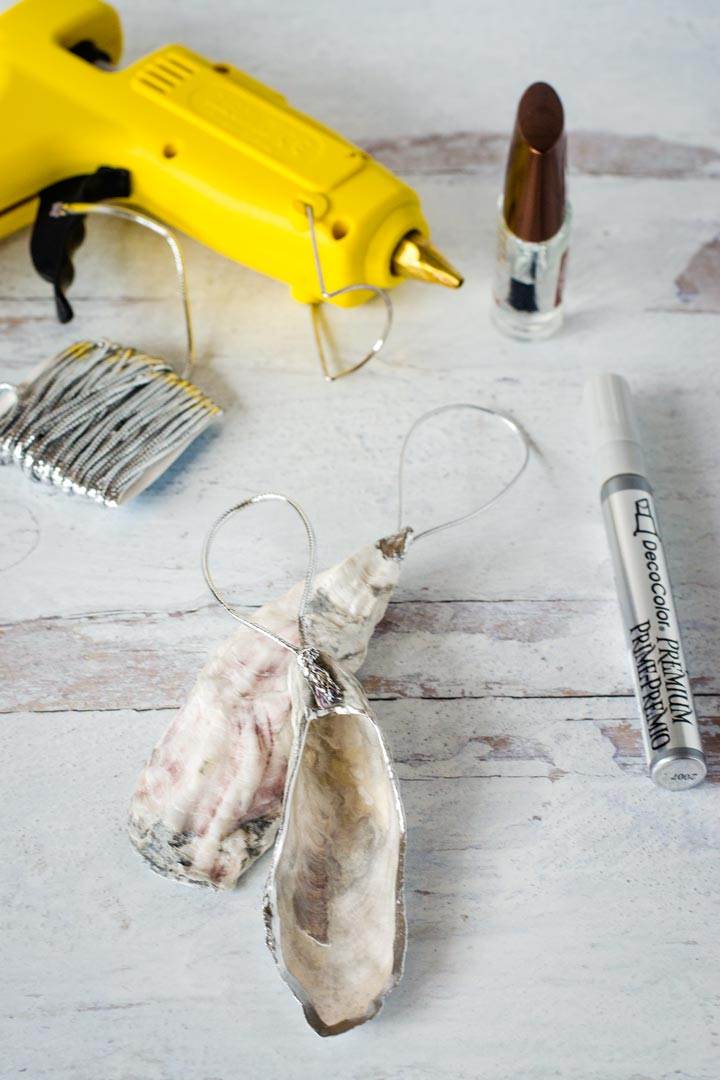
Next, coat the shell with a clear finish to give it a subtle sheen and bring out the natural colors. You can use a clear varnish for this, but a bottle of clear nail polish makes it fast and easy.
Once the clear coat is dry, it's time to add the finishing touches. A shiny metallic paint marker makes it super easy to add the silver leaf effect around the edges of the shell.
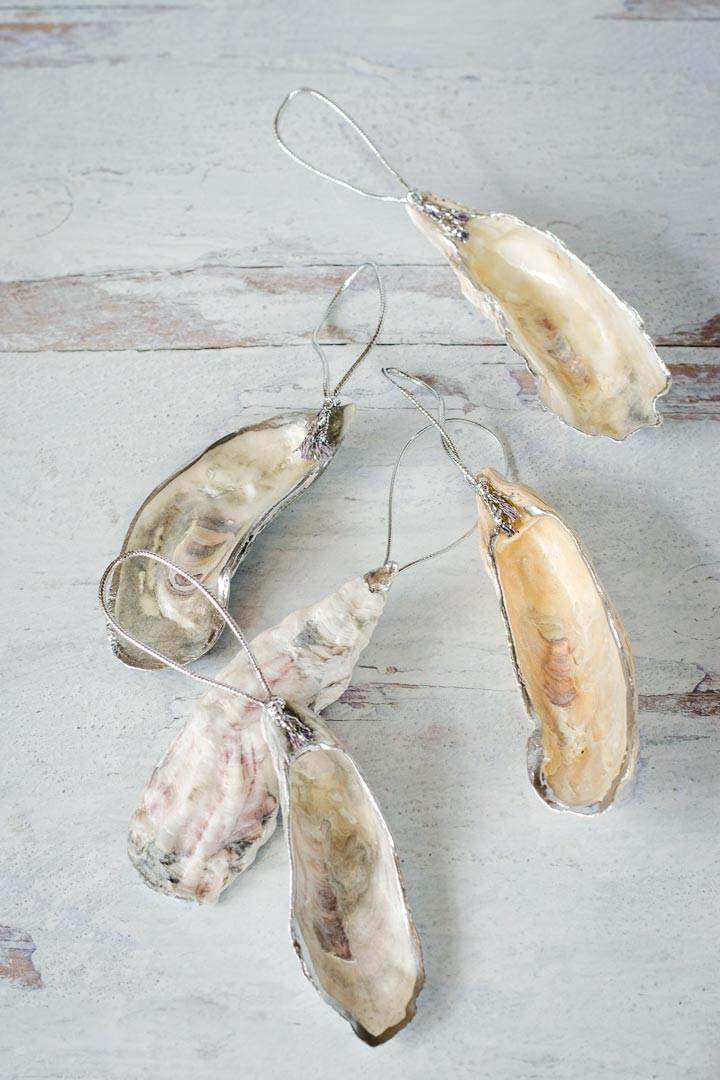
That's it! This project is so easy---just let your creativity run wild with your choice of shells and how you decorate them.
More variations to try
Try some of these design ideas to change up this easy beach-inspired Christmas craft.
With so many options for different types and shapes of flat seashells, the possibilities are endless. Here are a few to get you started:
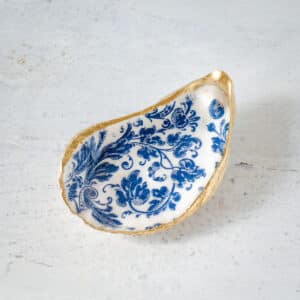
Try adding beads to the cord before you tie the loop. Or switch to a gold paint marker for gilded oyster shells. You also can paint the back of the shell a solid color, or decoupage the inside of the shell with a decorative napkin.
And of course, if you don't want to make your own beachy ornaments, you can always buy pre-made decorations like these. There are options that are painted in different patterns and have added beads or pearls.
Whether you DIY or buy them, oyster shell ornaments are a perfect addition to your coastal Christmas tree or a unique last-minute gift!
More easy beach crafts
- Sand Dollar Christmas Ornaments
- How To Make a Seashell Wreath
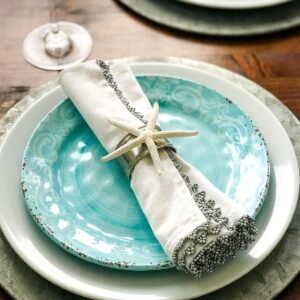
- Starfish Napkin Rings
- 20 Easy Seashell Crafts
How To Make Oyster Shell Ornaments
Equipment
Materials
- 4 " - 5" oyster shell
- clear nail polish
- silver cord
- silver paint marker
Instructions
- If you're using found shells, wash and let dry completely.
- Tie a loop in an 8-inch length of cord and glue the knot to the top of the oyster shell.
- Apply the clear nail polish to the inside of the shell and let dry.
- Use the metallic paint marker to paint the edge of the shell.


Leave a Reply